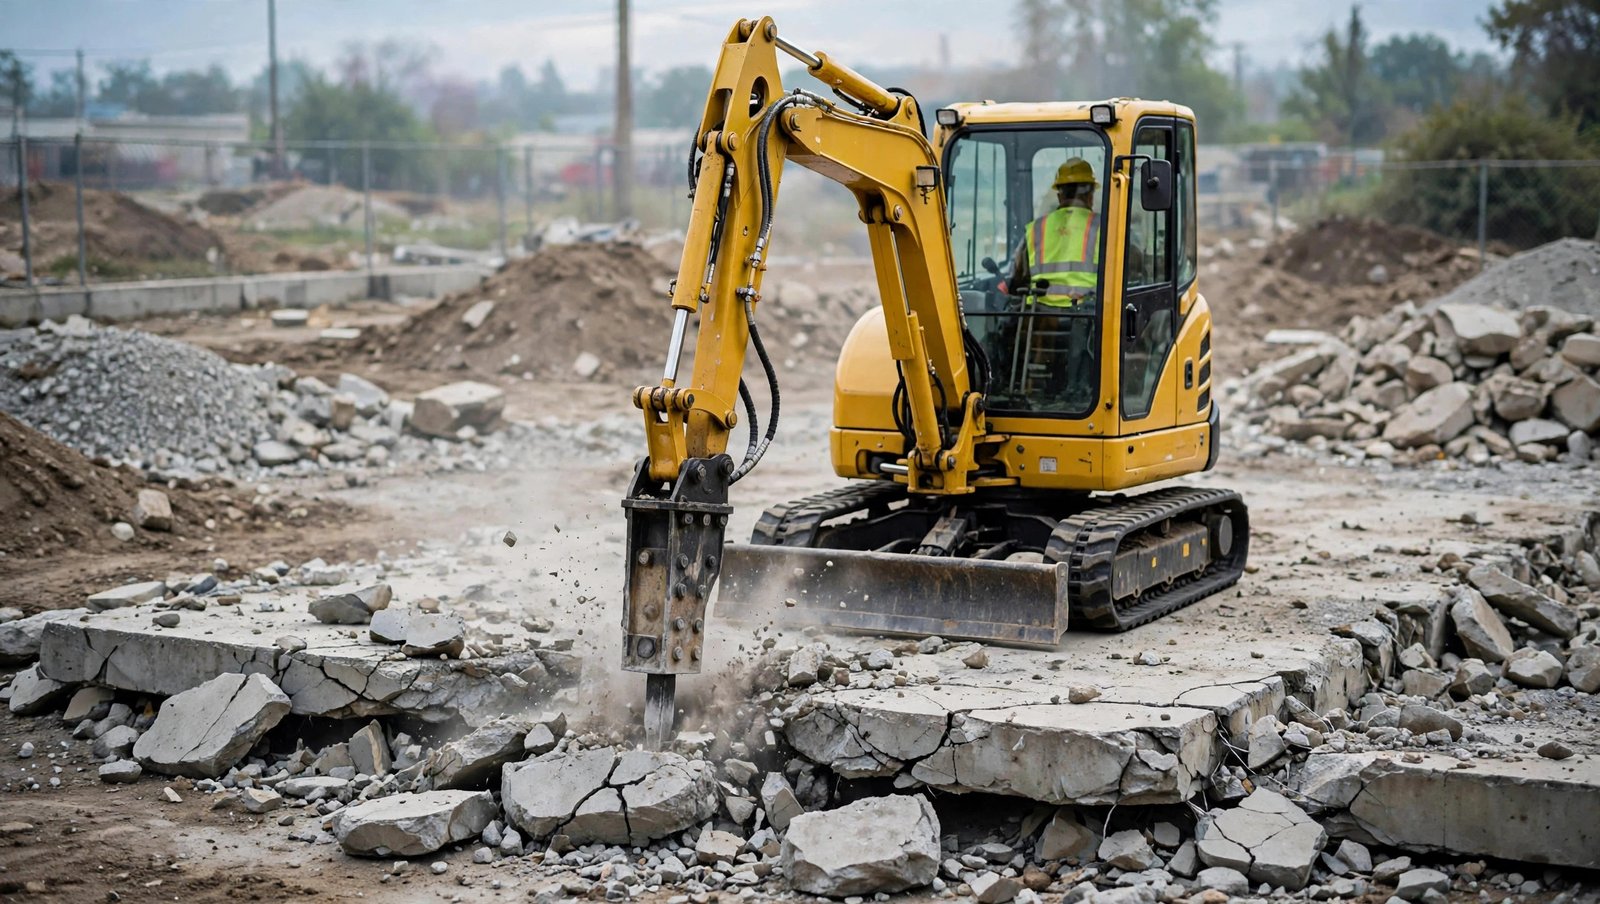
A hydraulic breaker turns a mini excavator into a demolition machine. It can break concrete, rock, asphalt, and frozen ground that a bucket cannot touch. Used well, it is fast and precise; used badly, it is hard on the machine and dangerous for everyone nearby. This guide explains the right setup, the right angle, the habits that protect the tool, and the warning signs that tell you to stop.
What a Hydraulic Breaker Does
A breaker is a hammer powered by the excavator’s hydraulics. Oil pressure drives a piston, which strikes the tool — the long steel chisel at the front — again and again. Each blow cracks the concrete or rock from the inside. Breakers are matched to the weight of the machine. Too large, and it will be slow and hard to control; too small, and it will work hard without making progress. Ask your supplier to match the breaker to your model, and check that the excavator has the auxiliary hydraulic lines it needs. The tool matters too: a pointed moil tool suits hard rock and concrete, a blunt tool suits large slabs, and a chisel tool suits cutting a straight line.

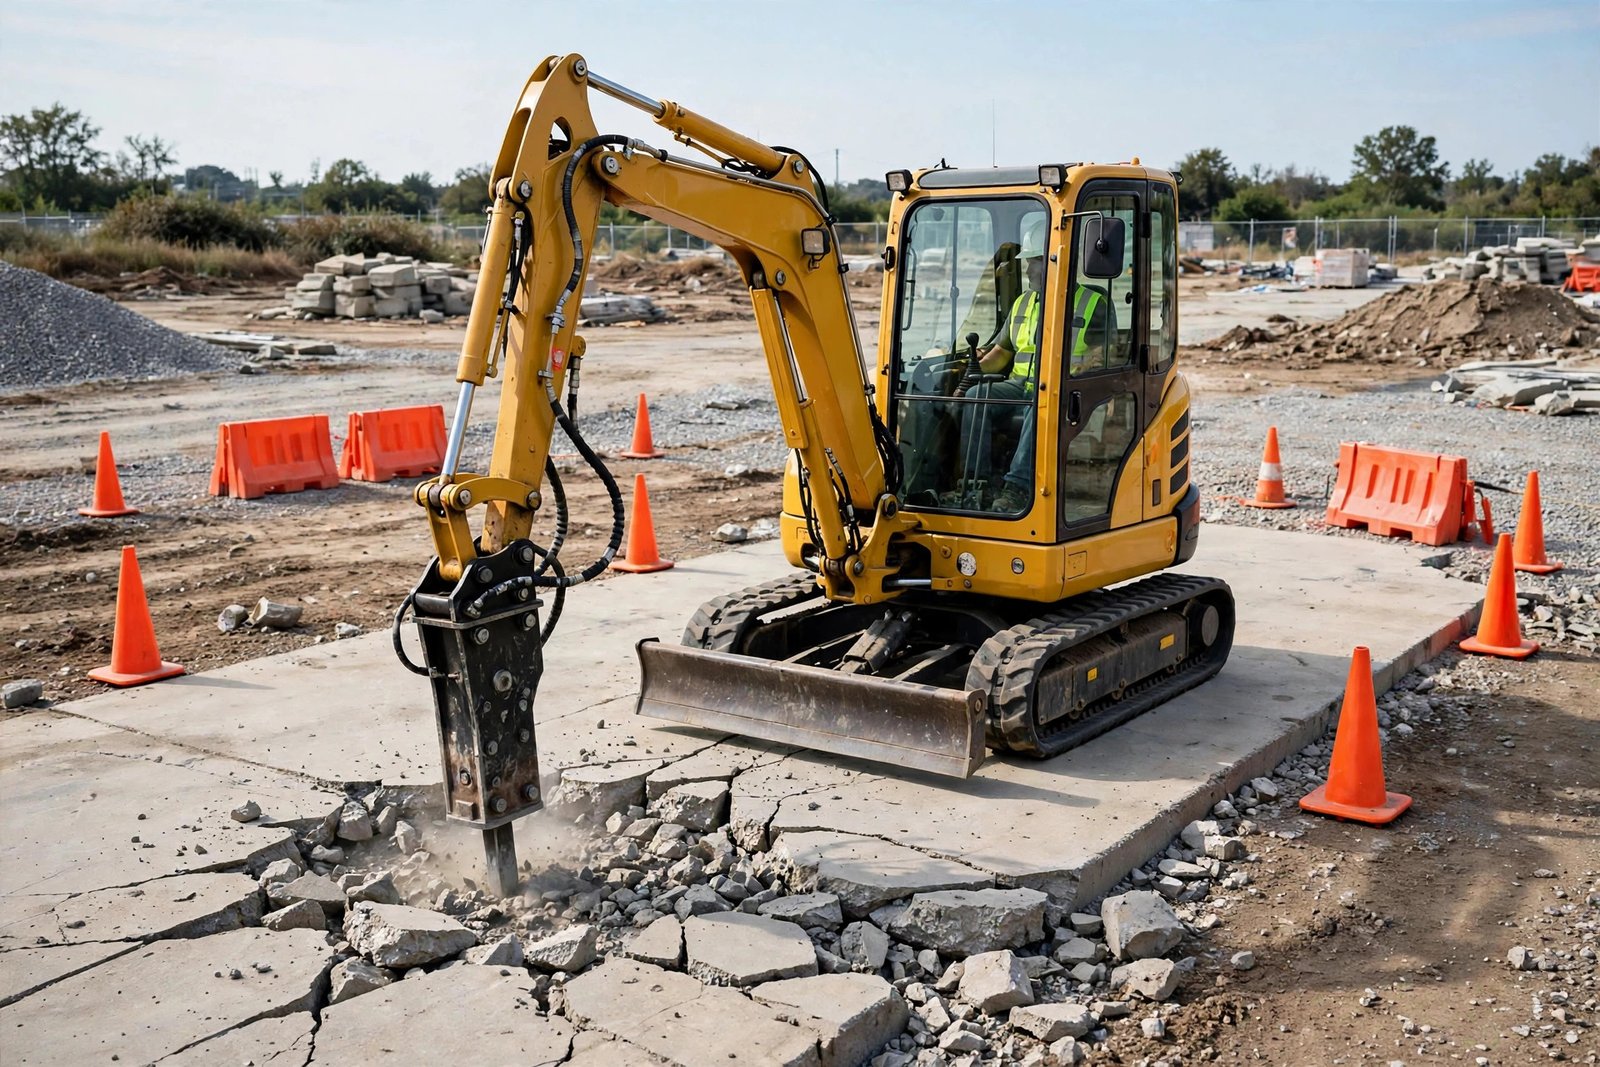
Before You Start: PPE and Site Safety
Breaking work throws chips, dust, and noise in every direction. Never start without protection: a hard hat, safety glasses or a face shield, hearing protection, gloves, steel-toe boots, and a dust mask where dust is heavy. Hearing protection is not optional — a breaker is one of the loudest tools on a job site. Set up the work area before the first blow. Keep other people well away, keep the area around the machine clear so the operator can see, and mark underground services first — pipes and cables can be hidden just below the surface. Check the machine first: loose hoses, leaks, worn pins, and a cracked or badly worn tool. Make sure the breaker is firmly mounted and the lines are connected correctly.
The Correct Angle and Position
Position is the most important skill in breaker work. The breaker should strike straight down into the material, at a right angle to the surface. Place the tool on the surface, press down with the boom so it stays in contact, and let the breaker do the work. Do not push forward while it is running, and do not use it to lever or pry material apart. Work from the edge of a slab or rock, not from the middle. Break a small piece off the edge, then move on. Working in the middle of a thick slab just bounces the tool and wastes energy. Keep the tool in one spot for only a short burst — usually no more than 15 to 30 seconds. If the material has not cracked, stop, move the tool a few centimetres, and try again. Long, continuous hammering in one spot builds up heat, wears the tool, and can damage the breaker.
Avoid Blank Firing and Side Loading
Two habits destroy breakers faster than any other: blank firing and side loading. Blank firing means running the breaker when the tool is not pressed against the material. The piston strikes with nothing to absorb the blow, and the shock goes back into the breaker. Stop the breaker the moment the tool loses contact. Side loading means pushing the tool sideways while it is in the material — for example, trying to pry a slab apart. The tool is made to take force along its length, not from the side. Side loading bends and breaks tools and can crack the housing. To move a broken piece, stop the breaker, lift the tool clear, and use the bucket.
Greasing and Basic Maintenance
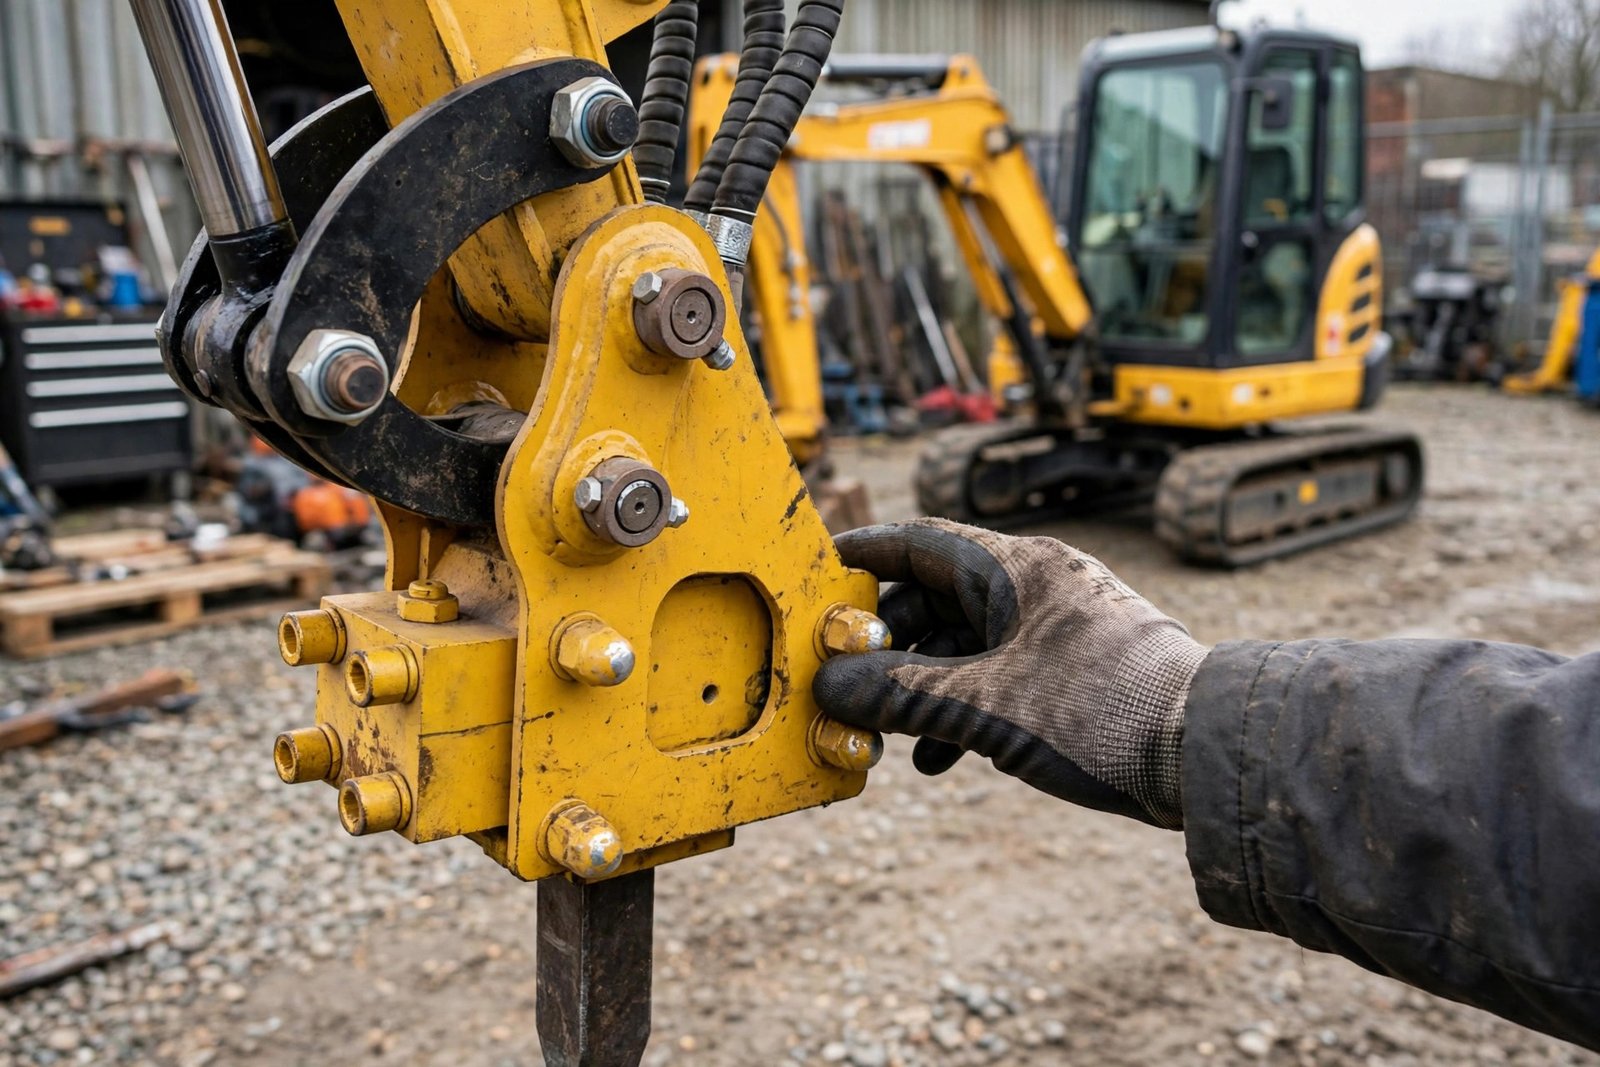
A breaker needs grease to survive. The tool slides in its housing thousands of times a day, and without grease it wears quickly and overheats. Grease the breaker at the intervals in the manual, and more often in dusty or wet work. Grease with the tool pressed against the ground, and use the grease type recommended for breakers. Check the tool regularly for wear. A worn tool is shorter, thinner at the tip, and less effective — replace it before it becomes so short that the piston can strike the housing. Also check hoses for leaks, keep the breaker clean, and store it with the tool pointing down or covered, so water does not sit in the housing.
When to Stop
Stop if the tool has hammered in one spot for more than 30 seconds without cracking the material. You may be hitting steel reinforcement or a tool that needs replacing — move it and try from a different angle. Stop if you hear a change in sound, feel unusual vibration, or see oil leaking from the breaker or hoses. A change in sound often means the tool is worn, the breaker is running dry, or something inside has cracked. Stop if the machine is overheating, if the hydraulics feel slow, or if the breaker is bouncing instead of breaking. Let it cool and check the oil, hoses, and tool. And stop if anyone enters the work area — a flying chip can travel further than most people expect.
Common Mistakes to Avoid
The most common mistake is treating the breaker like a bucket. Pushing, prying, and levering with the tool breaks it. Let the hammer work, and use the bucket for moving material. The second is working too long in one spot. Short bursts and working from the edge are faster in the end, and much kinder to the machine. The third is skipping grease. A breaker that runs dry wears out in a fraction of its normal life, and the damage is hard to see until it is too late. The fourth is using the wrong breaker for the machine. Too big, and it strains the hydraulics; too small, and it takes forever and still wears out.
A Powerful Tool, Used Properly
A hydraulic breaker is one of the most useful attachments a mini excavator can carry. It opens up demolition, road repair, rock breaking, and trenching in hard ground. The difference between a breaker that lasts and one that breaks is not power. It is position, short bursts, grease, and knowing when to stop. Tell Sparkle One about your work — the material you need to break and your machine model — and we will help you choose a breaker that matches your mini excavator. Minimum order is 1 unit, and our team replies within 24 hours. Contact us on WhatsApp at +86 151 2992 2907.