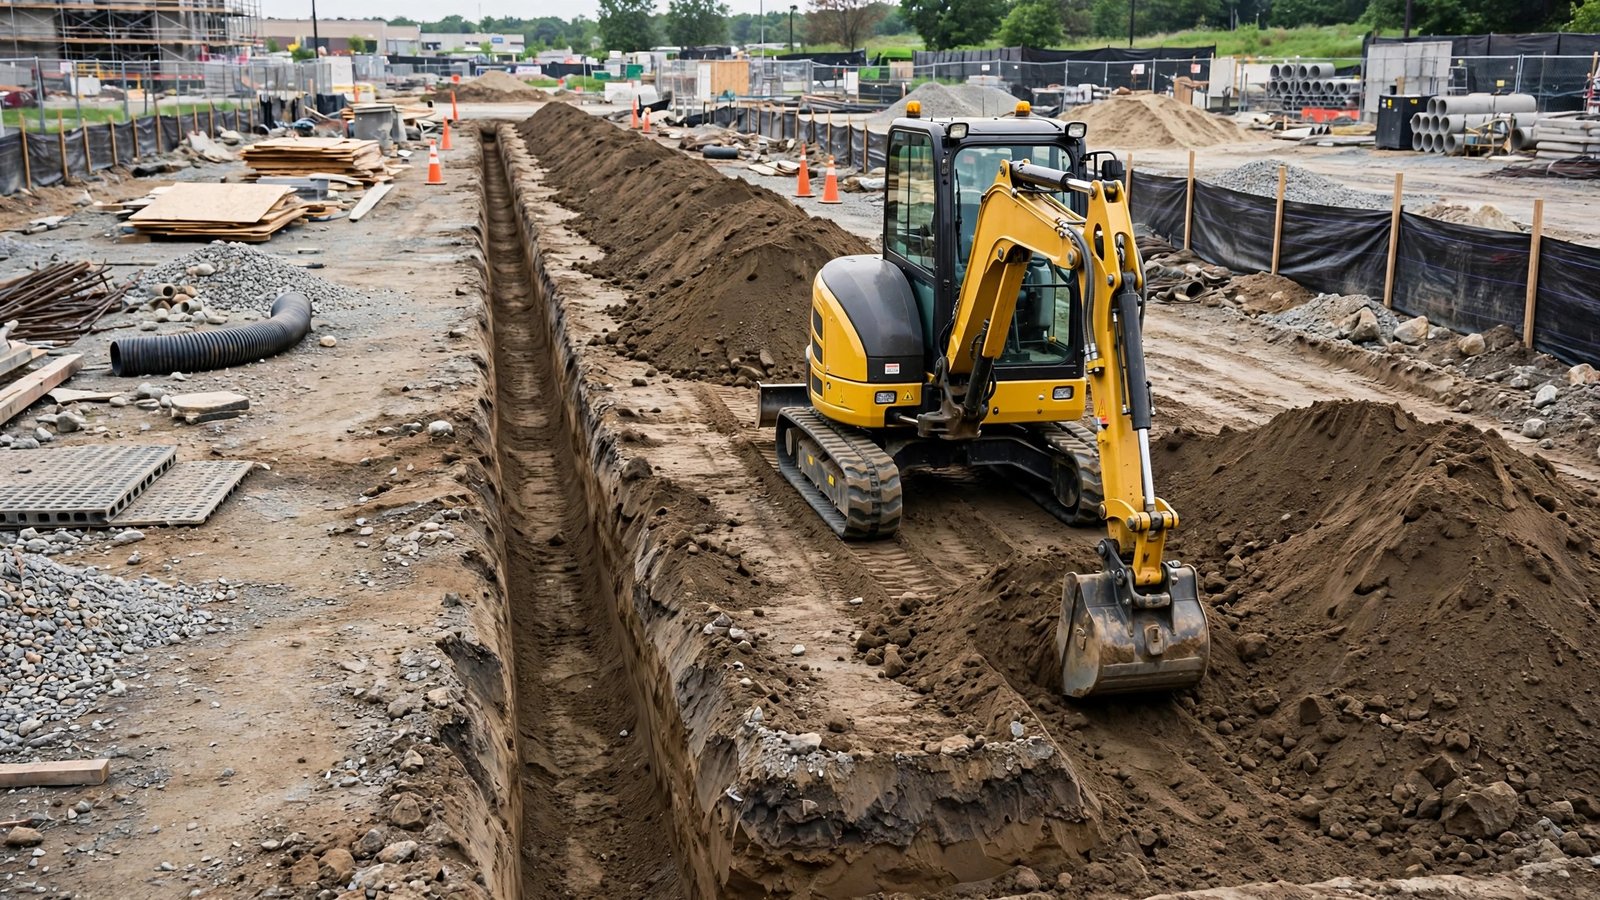
Digging a trench is one of the first jobs most mini excavator owners learn. A straight, even trench carries water pipes, electric cables, drainage, and irrigation where they need to go. Done well, it takes an hour. Done badly, it means crooked lines, collapsed sides, and digging the same ground twice. This guide walks through the whole job for a beginner: the checks before you start, how to mark the line, how to dig in layers, and how to backfill and level when you finish.
Before You Dig: Safety and Checks
The ground often hides things you cannot see, so check before the bucket touches the soil. First, find out where underground utilities run. In many countries, there is a free “call before you dig” service that marks water, gas, electric, and telecom lines. Use it and wait for the marks. If no such service exists in your area, ask the landowner, check old plans, and look for manhole covers and meter boxes. Never guess where a cable is. Second, walk the line for roots, rocks, and soft ground. Third, check the machine: tracks, teeth, hoses, and oil levels. Finally, plan where the spoil will go: keep it on one side, clear of the edge.
Mark the Line
A good trench starts with a clear mark. If you dig by eye, the trench will wander and pipes will not sit straight. Use string lines, wooden stakes, or spray paint to mark both edges. For a straight run, put a stake at each end, pull a string tight between them, and mark along it. Decide width and depth first. A narrow bucket, often 200 to 300 mm wide, suits a single pipe or cable. Water and electric lines usually need to sit below frost depth, so check local rules. Write the target depth on a stake so you can check it as you go.
Choose the Right Bucket
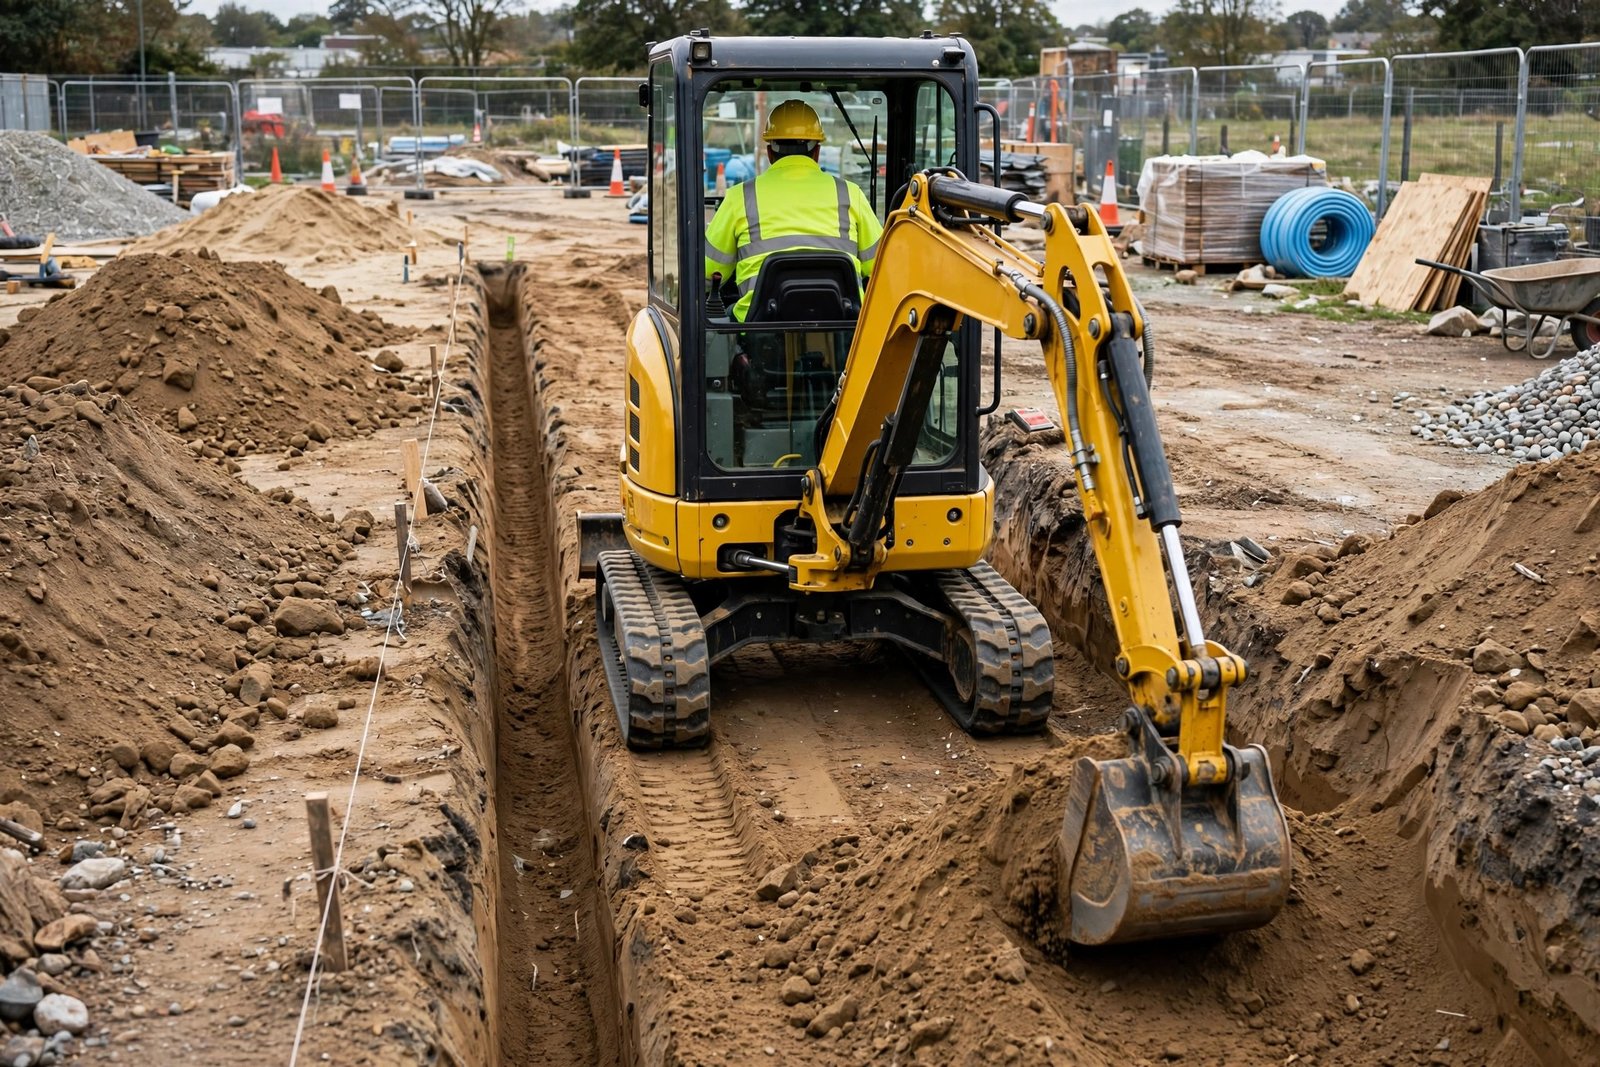
The bucket decides how neat the trench will be. A narrow digging bucket cuts a clean, straight trench with less soil to move. A wide bucket moves more soil per pass but leaves a wider trench than most pipes need. For most trench work, start with a narrow bucket, and check that the teeth are in good condition: worn teeth make the machine work harder and leave a rough floor.
Step 1: Position the Machine
Park alongside the marked line, tracks parallel to it, so the boom reaches across the trench without sitting on the spoil pile. On a long trench, work in sections of 5 to 10 metres. Keep the machine level; if the ground slopes, level a small area with the blade first.
Step 2: Dig in Layers
Do not try to dig to full depth in one pass. Dig in layers, about 200 to 300 mm at a time. Start at one end. Lower the bucket, curl it into the soil, and pull the arm towards the machine. Lift the bucket, swing it to the spoil side, and dump the soil in a neat pile. Then move forward a bucket width and repeat. Digging in layers keeps the sides straight and the floor flat, and lets you see rocks and roots early. Check the depth often with a tape measure from the string line to the floor.
Step 3: Keep the Sides Straight and Safe
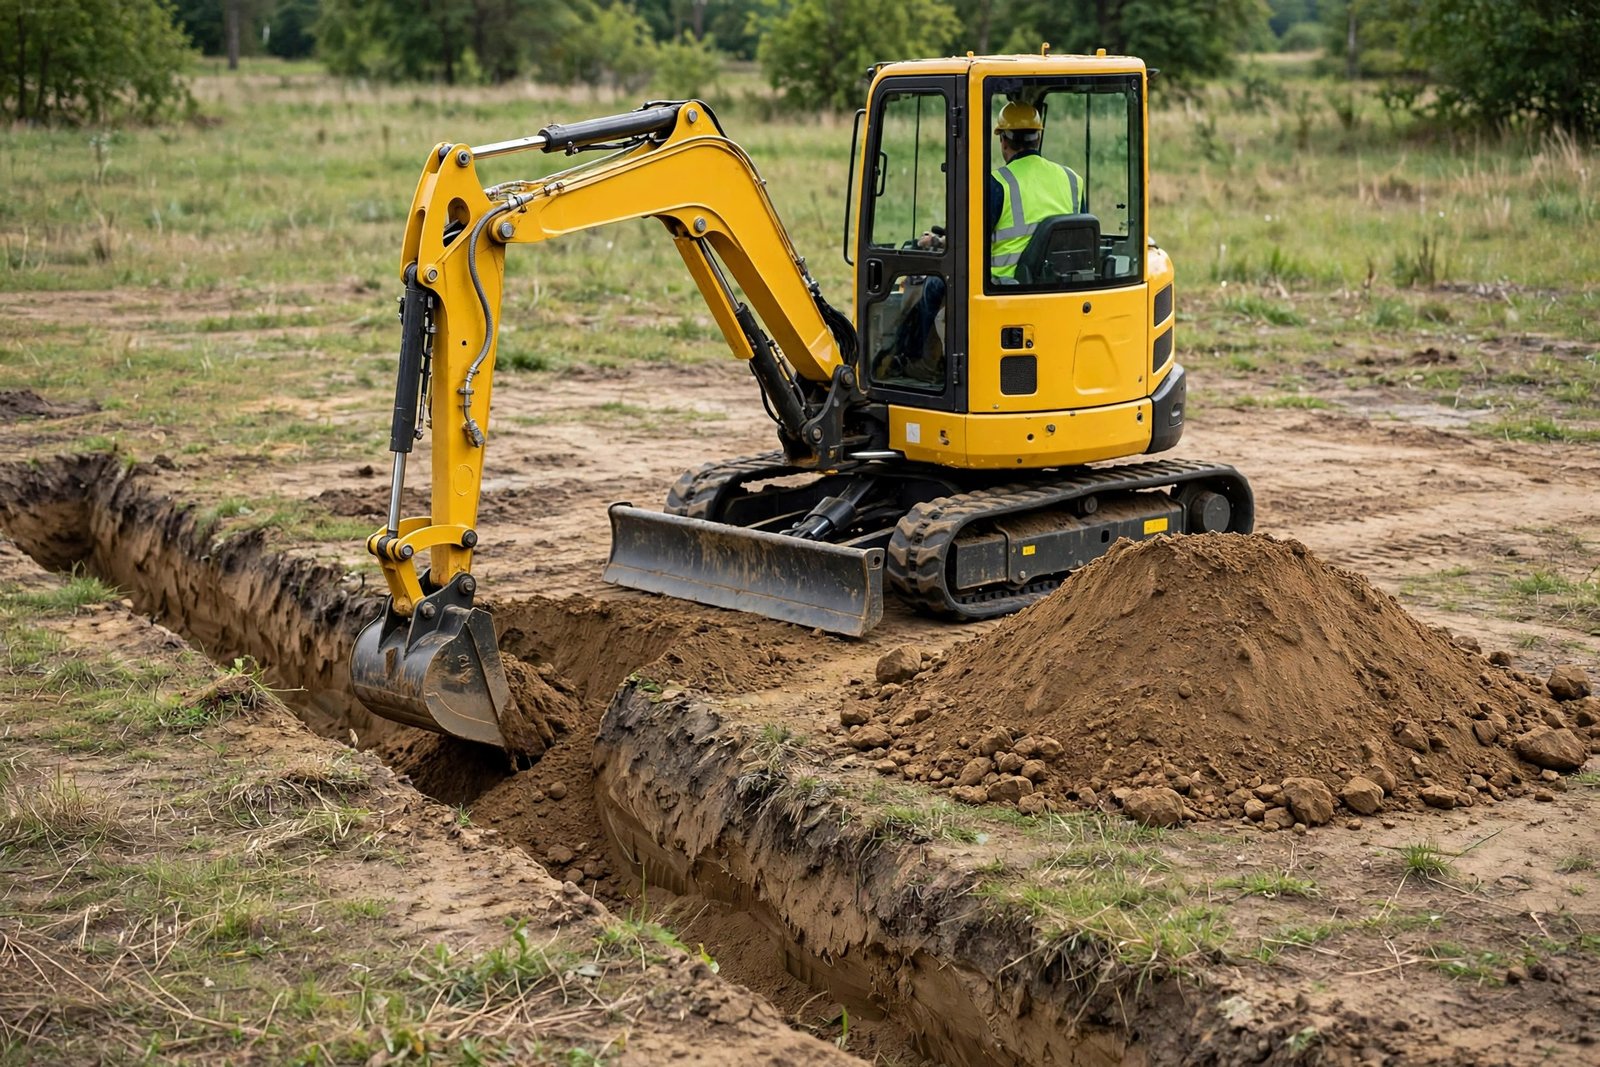
Follow the string line with the centre of the bucket, not the edge, and make small corrections early. Keep the spoil pile at least half a metre from the edge, so its weight does not push the side in. On soft ground, keep it further back and slope the sides. Never climb into a deep trench while the machine is working, and keep people clear of the swing area. If the trench is deeper than chest height, shore or slope the sides and follow local safety rules.
Step 4: Shape the Floor and Lay the Pipe
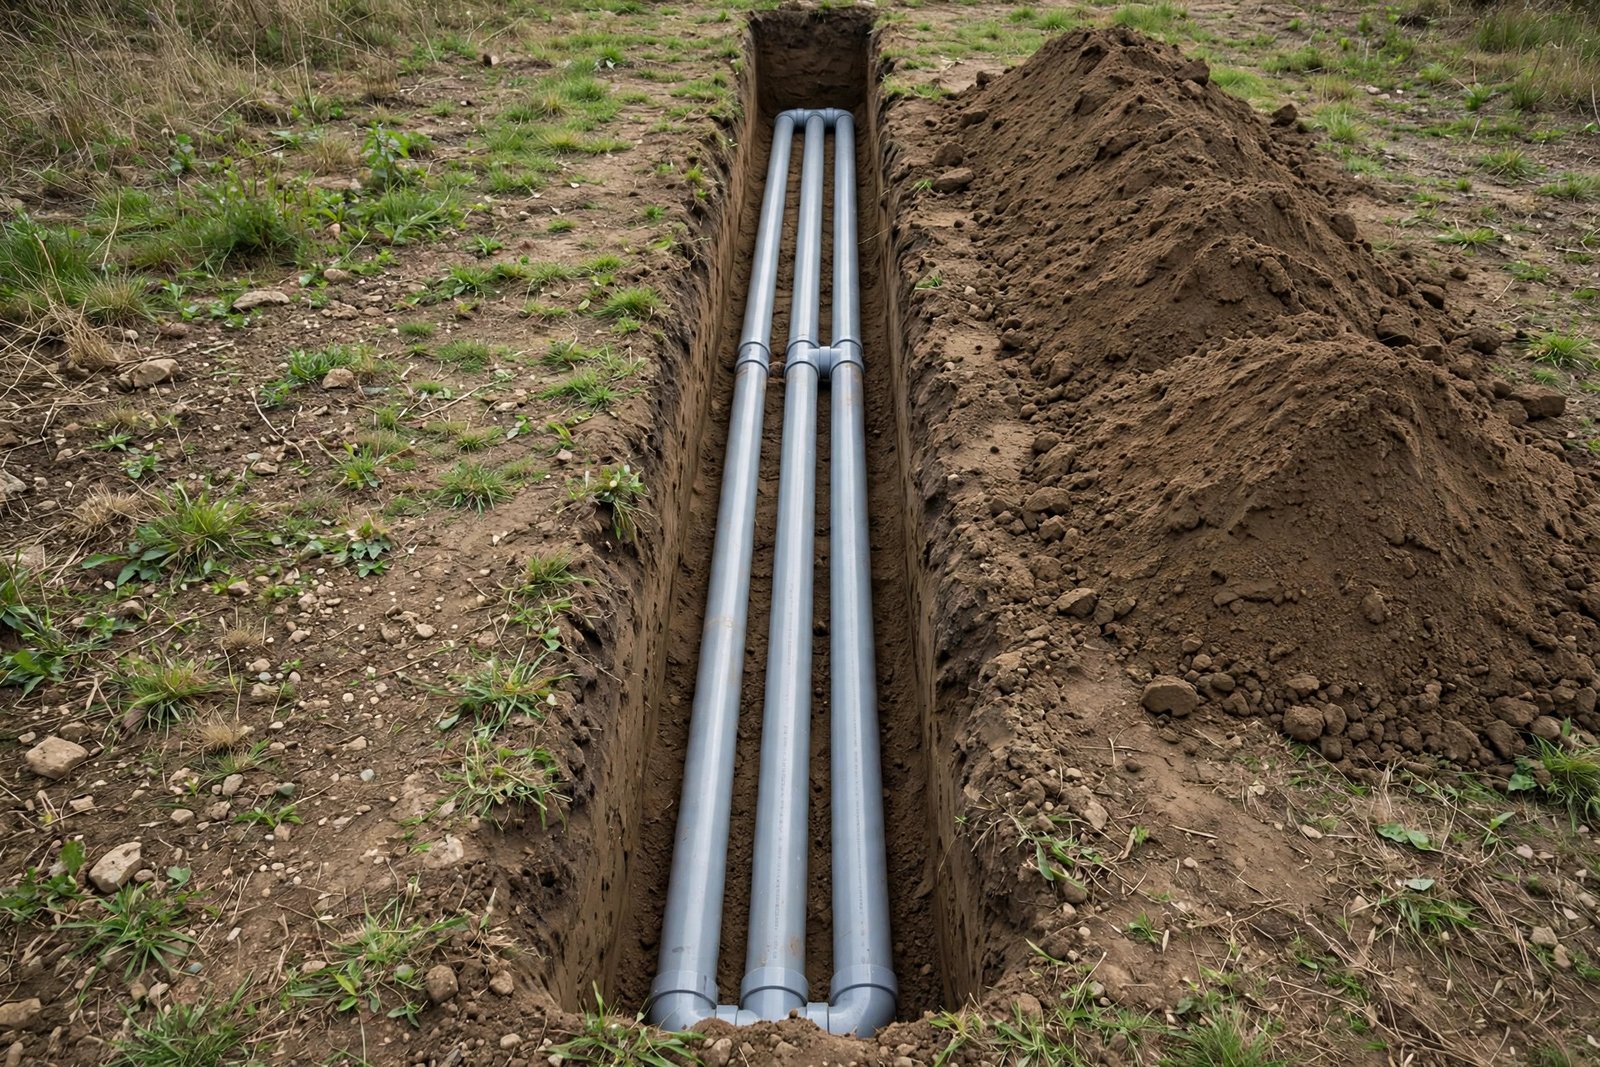
Once the trench is at full depth, scrape the floor flat with the back of the bucket and remove loose stones. For drainage, the floor needs a gentle, even fall so water flows the right way; check it with a level and adjust in small steps. Lay the pipe or cable now, while the trench is clean and open. Check that it sits flat, with no stones underneath. Take a photo of the pipe before you cover it, so you can find it again later.
Step 5: Backfill and Level
Backfill in layers, or the pipe may be damaged and the ground will sink later. First, cover the pipe with about 150 mm of fine soil or sand, with no large stones, and tamp it gently. Then add the rest in layers, tamping each one lightly. Leave a small mound, because the soil will settle. Finally, level the surface and replace topsoil and grass if the trench crosses a lawn or path.
Common Mistakes to Avoid
- Digging too deep in one pass. Dig in layers and check the depth often.
- Piling spoil too close to the edge. Keep the pile back and the working side clear.
- Not marking the line. Spend ten minutes marking it properly.
- Forgetting what is underground. Always check for utilities before you dig.
- Rushing the backfill. Backfill in layers and leave a small mound for settling.
A Job Worth Doing Well
Trenching is a basic skill, but it is the skill most customers judge a mini excavator by. A straight trench, a flat floor, and a level finish show the operator knows what they are doing. If you are buying your first mini excavator, look for a machine that fits your trenches: a 1 to 2 ton machine suits most farm, garden, and utility work, with a narrow bucket for pipes and cables. Practice on a short trench first. Speed comes with practice; the habit of marking, checking, and backfilling in layers should come first.
Get in Touch
Sparkle One supplies mini excavators for trenching, farm work, landscaping, and small construction. Tell us about your trenches — the depth, the width, and the ground you work in — and we will help you choose the size and bucket that fit. Contact Sparkle One for a quotation and model advice. Minimum order is 1 unit, and we aim to reply within 24 hours. You can reach us on WhatsApp at +86 151 2992 2907.